MacBook Pro 13 — How to set HiDPI 2560x1440 resolution on a 4K monitor
Note: This guide applies to the MacBook Pro 13” Mid-2014 with Intel Iris 1536 MB and the LG 27UD88-W 4K monitor.
When I first connected my LG 27UD88-W 4K monitor to my MacBook Pro 13”, the only available HiDPI resolution was 1920×1080. This makes sense, as it’s a clean 2× downscale from the native 3840×2160.
However, 1920×1080 is far from ideal as a productive workspace. I aimed for a HiDPI 2560×1440 setup, but the display was disappointingly blurry—not the sharp, crisp image I expected.
After several days of digging, I finally found a setup that worked. Here’s how:
1. Check your connector
HDMI on this MacBook is limited to 30Hz, which is not ideal.
To get better performance, use a DisplayPort to mini DisplayPort cable instead.
2. Disable SIP (System Integrity Protection)
To make system-level modifications, you must disable SIP.
Guide: How to turn off SIP on macOS
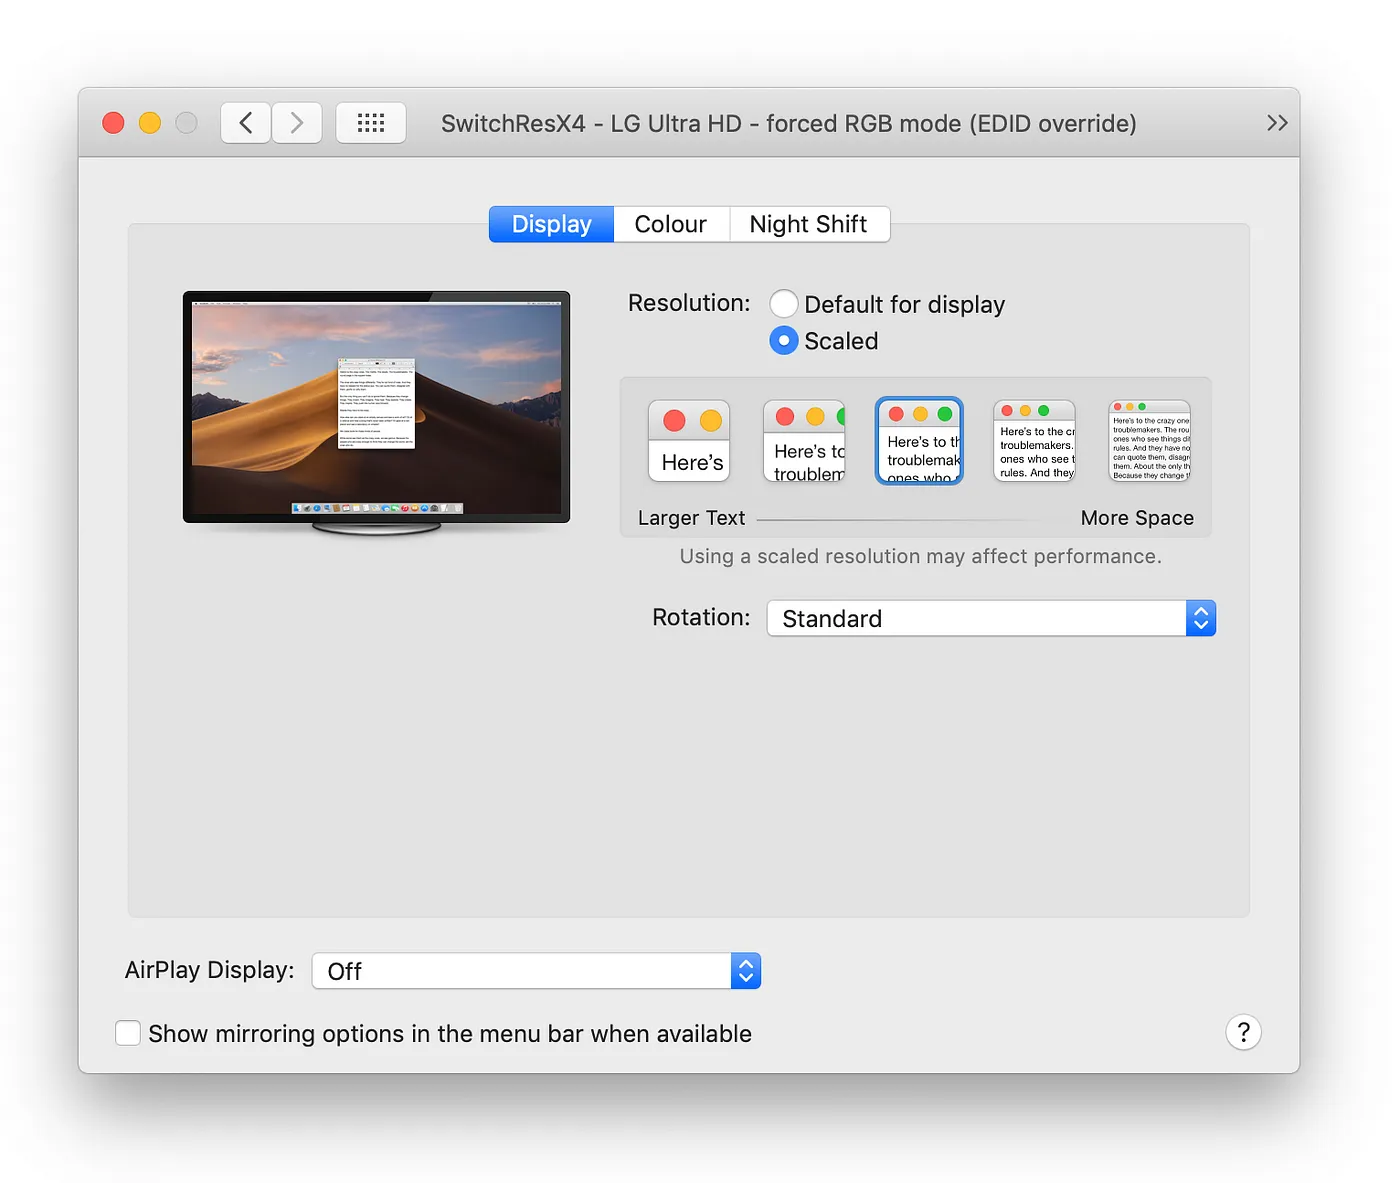
3. Override the EDID setting to force RGB color space
Macs sometimes default to YCbCr instead of RGB, causing blurry text.
Fix it by overriding the EDID settings as described here:
Guide: Force RGB mode in macOS
After this, you’ll have access to scaled HiDPI resolutions—but still at 30Hz.
This limitation was introduced by Apple in macOS Sierra.
4. Use SwitchResX to add a custom resolution
SwitchResX allows you to manually set custom resolutions and refresh rates.
Follow this detailed tutorial:
More than 30Hz on your 13.3” MacBook Pro and 4K monitor
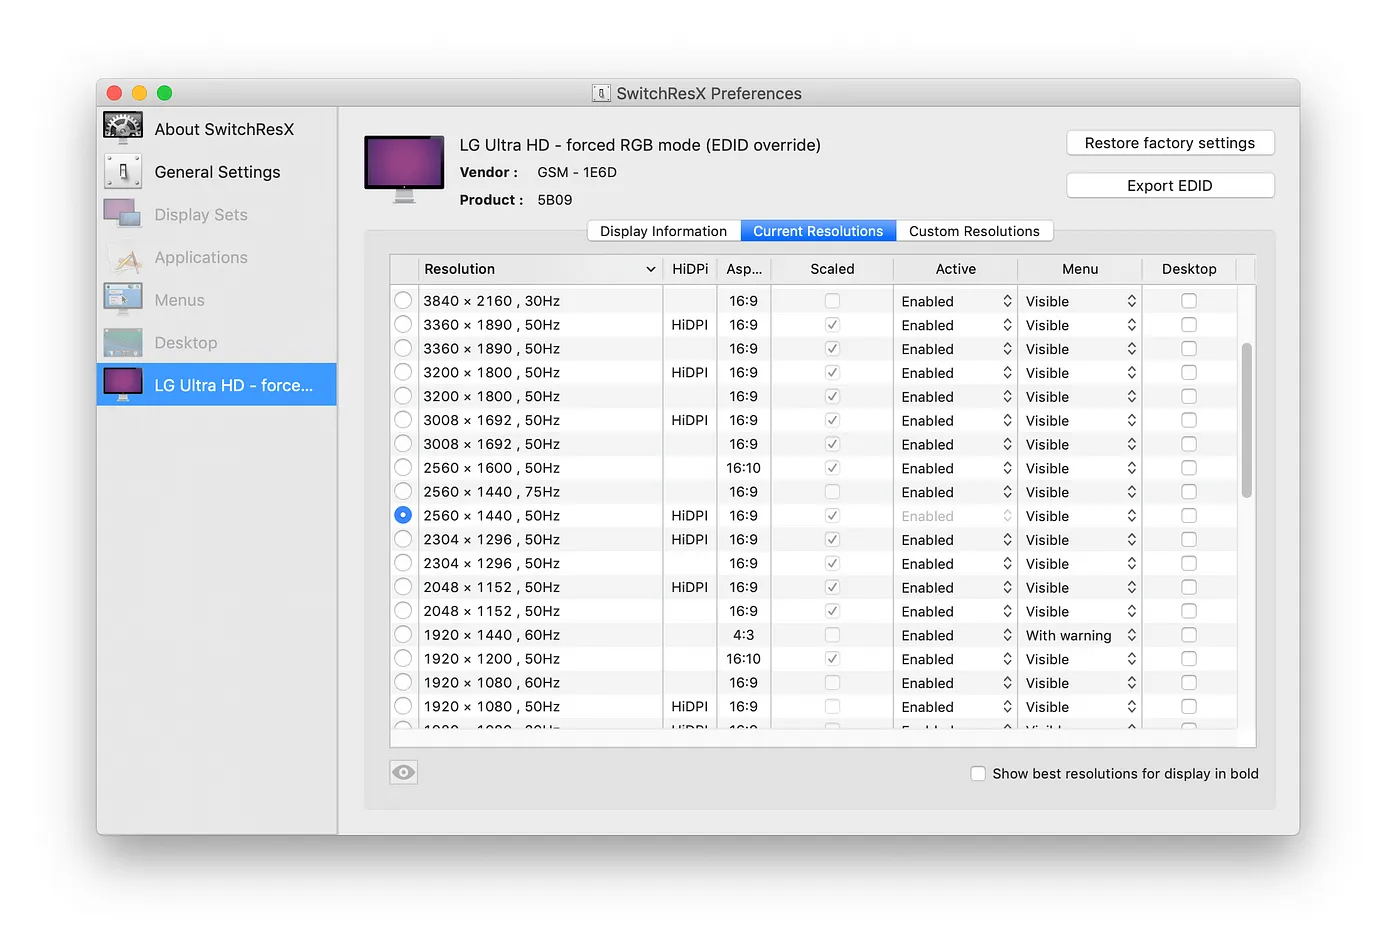
I managed to get 50Hz, which worked great. Anything higher caused the monitor to go black with a “no signal” warning.
Note: mac-pixel-clock-patch-V2 — no longer works
This patch is outdated and not compatible with recent versions of macOS.
In my case, it caused the monitor to go black with no display signal.